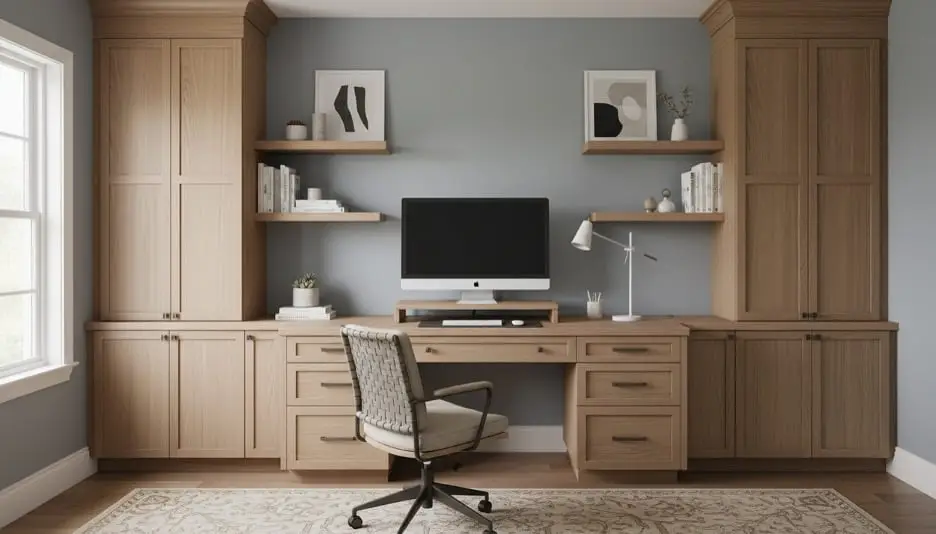
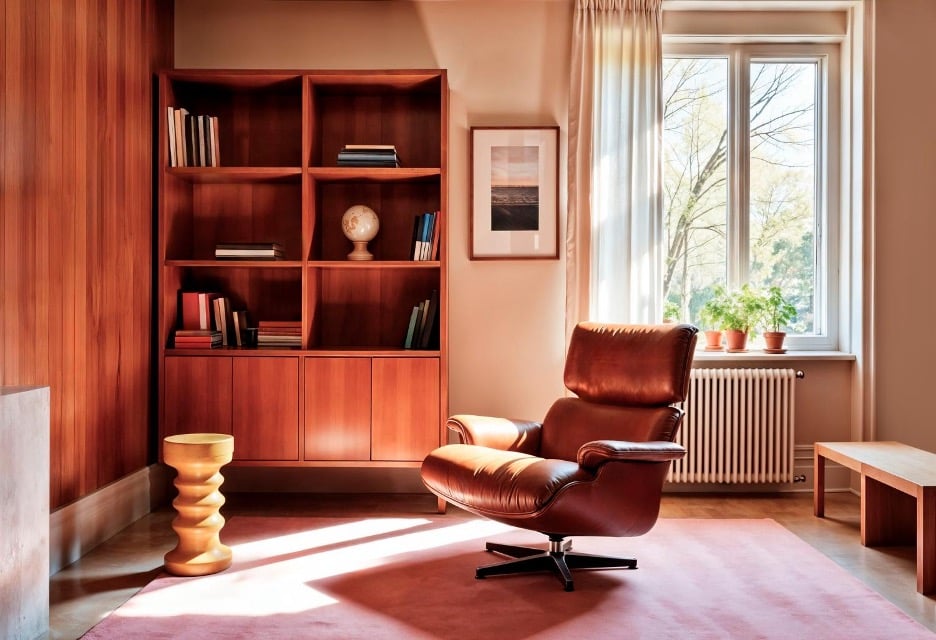
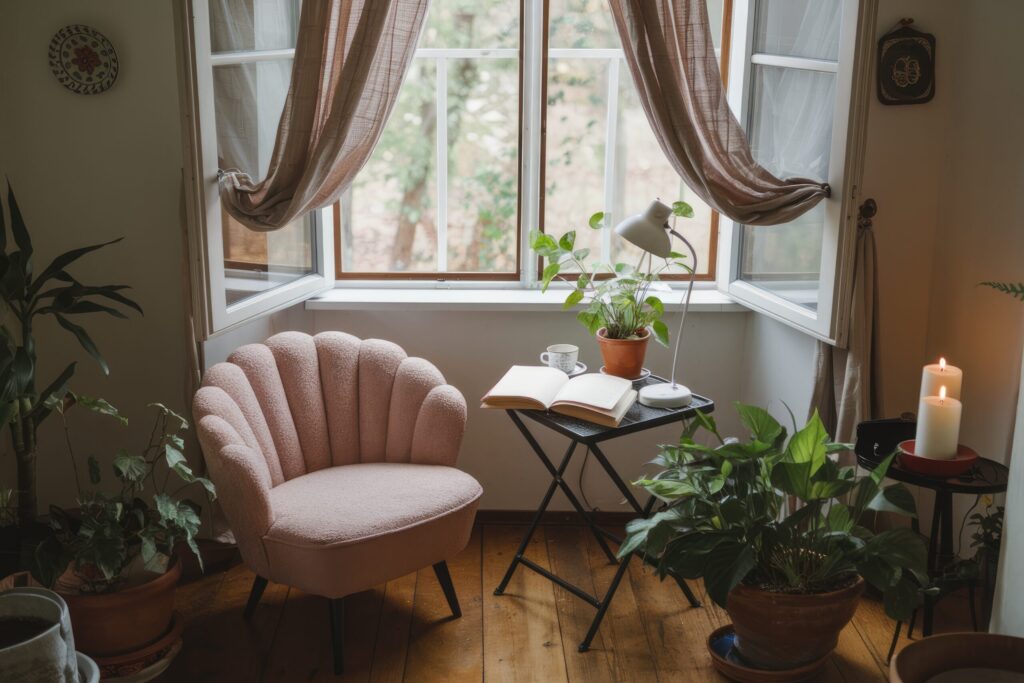
The Best Way to Hang Pictures in Every Room


The frame is in one hand, the level is in the other, and somebody in the next room is asking whether the picture looks straight yet. The wall already has one abandoned nail hole, the sofa sits slightly off-center, and the artwork still seems too high.
The best way to hang pictures isn't one magic measurement. It's a short series of decisions about the frame's weight, the wall behind it, the furniture below it, and the sightline from the doorway. Get those decisions in the right order, and picture hanging stops feeling like a Saturday afternoon gamble.
Why Picture Hanging Feels Harder Than It Should
Most picture-hanging advice starts with a height rule and skips the details that determine whether the rule works. A light print on drywall, a heavy canvas over a sofa, and a frame on old plaster need different hardware and different judgment. Treating them alike is how crooked frames, loose anchors, and unnecessary wall damage happen.
The room matters just as much as the wall. A frame centered on an empty wall can look wrong when a sofa, console, headboard, television, or sloping ceiling changes the visual balance. The right placement often comes from viewing the furniture and artwork as one arrangement rather than measuring the wall in isolation.
Practical rule: Choose the wall hardware first, then choose the height, then make the holes.
A calmer process starts with weighing the frame, identifying the wall type, and previewing the placement with paper or painter's tape. From there, the hanging point can be marked from the frame's own hanger instead of guessed from its outside edge. Readers who are also arranging a new room can find useful planning context in this guide to starting the interior design process.
That sequence leaves room for questions homeowners ask: how high art should sit over a sofa, what changes on plaster or brick, how renters can avoid drilling, and how several frames can share a sightline without looking stiff. A good layout should feel intentional from the chair, the hallway, and the doorway, not just from directly underneath the picture.
Choosing the Right Hardware for Your Wall and Frame
A nail is perfectly sensible for a light print. It's not a sensible answer for every frame. The wall surface and the measured weight should decide the hardware, not the size of the nail already sitting in a junk drawer.
Start by weighing the complete frame, including the glass, backing, and hardware. Then choose hanging hardware rated for about twice the frame's actual weight, because movement, uneven loading, bumps, and wall conditions can put more stress on the connection than a static test suggests. A 30-pound picture should be matched with hardware rated for 60 pounds or more. This approach is outlined in drywall anchor weight guidance.
For standard drywall, the practical ladder looks like this:
- Plastic expansion anchors: Commonly used around 15 to 30 pounds, depending on the wall and product design. Drywall anchor guidance provides the stated range.
- Self-drilling anchors: Commonly used around 25 to 60 pounds, with the exact capacity depending on the product and installation. The same weight chart lists this range.
- Hollow-wall molly bolts: Commonly used around 50 to 90 pounds in suitable drywall applications. The referenced drywall guidance gives this range.
- Toggle bolts: Commonly used around 100 to 200 pounds, depending on wall thickness and product design. The drywall anchor reference identifies this range.
Older plaster can crumble around an unsuitable fastener, so a careful pilot hole and hardware designed for hollow walls are safer than forcing in a nail. Brick fireplaces need masonry-compatible anchors and a drill made for masonry. Paneling may hold a light frame, but heavier artwork should be connected to a structural point rather than relying on thin decorative material.
Medium artwork deserves two hanging points when possible. Two points distribute the load, reduce shifting, and make it easier to keep the frame level. For canvas pieces, these canvas framing tips from William Tucker Art can help clarify how the frame construction affects the hanging approach. The same principle of matching the attachment method to the object applies to wall-mounted furniture details, including attaching a headboard to the wall.
A Practical Method for Marking, Leveling, and Mounting
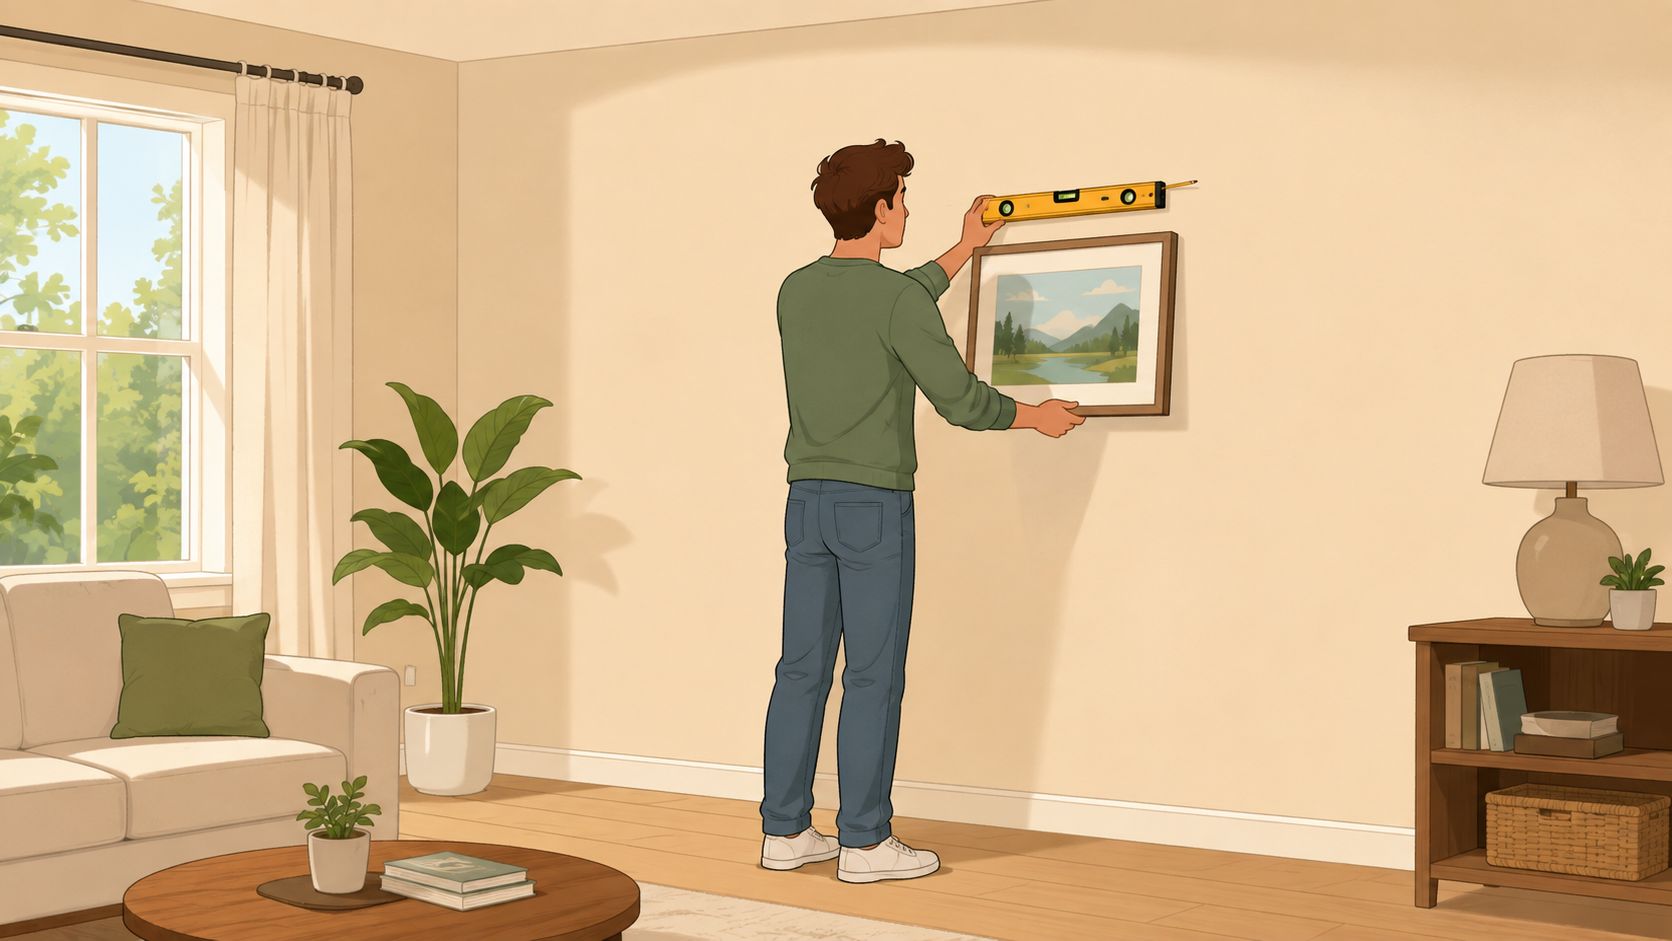
The most reliable method begins with the frame, not the wall. Weigh the finished piece, select hardware with the required safety margin, and check whether the back has a wire, two D-rings, or another hanging system. A frame with two D-rings must be measured from those rings directly, because the spacing between them determines the two wall marks.
For a wire-hung frame, measure from the top of the frame down to the point where the wire will rest on the hook. That distance changes with how tightly the wire is pulled, so hold it as it will sit when mounted. Mark the wall lightly with a pencil, then use the selected hardware at that point rather than marking from the frame's top edge.
If the artwork is medium or heavy, use two hanging points so the load doesn't concentrate on one fastener. Paired hooks or angled hooks can improve stability, and one expert recommendation is to divide an anchor's shear rating by 4 when estimating a safer working load, as explained in picture-hanging hardware guidance.
Before drilling, test the composition. Cut paper to the size of each frame, tape the shapes to the wall, and step back from the main viewing positions. For a gallery wall, move the templates until the group feels balanced with the sofa, console, or headboard below it. A practical step-by-step picture hanging guide can reinforce the measuring sequence.

Once the layout looks right, locate a stud for heavier work whenever the position allows. Set the level across the frame after the first attachment, mark the second point, and check the level again after both fasteners are installed. A phone-level function can serve as a backup, but a physical level is easier to read while both hands are occupied.
Leave the pencil marks faint. A small touch-up paint pen can erase the evidence later, but accurate marking prevents a row of unnecessary holes in the first place.
Getting the Height Right Above Furniture and in Every Room
The 57-inch rule provides a reliable starting point for a bare wall. Measure to the artwork's center, not its top edge, as explained in Framebridge's explanation of the 57-inch rule.
Furniture changes the measurement. Above a sofa, dresser, console, or headboard, keep the frame's bottom edge generally 4 to 8 inches above the furniture, following this wall-art placement guidance. That gap keeps the artwork visually connected to the piece below it. If the furniture is unusually tall, use the available wall space and sightline as your guide rather than forcing the frame into an awkward position.
Viewing posture matters too. A living room or bedroom often suits a center height of about 60 inches, while a kitchen, hallway, or entryway may work better at about 65 inches, where people usually stand. Room-specific hanging guidance also recommends no more than 8 to 10 inches between furniture and artwork above a surface.
| Room Type | Center Height | Spacing Above Furniture |
|---|---|---|
| Living room or bedroom | About 60 inches | Roughly 4 to 8 inches |
| Kitchen, hallway, or entryway | About 65 inches | No more than 8 to 10 inches |
| Bare wall starting point | About 57 inches | Not applicable |
Use the room's architecture to refine the placement. A low ceiling, chair rail, tall headboard, fireplace mantel, or sloping stair wall can make a strict centerline look wrong. Above a television, align the artwork with the screen and furniture instead of pushing it toward the ceiling. Guynn's guide to art above a TV addresses that arrangement directly.
Gallery walls need one shared visual center. Center the complete grouping rather than each frame, then adjust the arrangement for the main seating position, doorway, or strongest sightline. Leave tighter spacing within the group and keep its outside edges visually balanced with the furniture below. A paper template on the wall makes these in-between decisions easy to judge before you create holes.
Damage-Free Options for Renters and Frequent Redecorators
Renters face different limits when hanging artwork, and removable solutions work well for light pieces. Choose them for smooth, clean walls that are compatible with the fastening system. Check the frame's position before attaching anything, because moving a removable hanger can still leave marks or pull at paint.
Adhesive strips suit lightweight frames on smooth, prepared surfaces. They keep hardware out of sight and come off easily, but textured paint, dust, dampness, loose wallpaper, and plaster can prevent reliable contact. Clean and dry the wall first, then follow the product instructions instead of treating the strip like a universal fix.
Hook-and-loop hangers help when you expect to remove or reposition a light frame. They make small layout changes easier, especially for renters who regularly refresh a room. Use them only on compatible surfaces, and leave enough clearance around the frame to lift it away without scraping the wall.
Traditional hooks and anchors remain the better choice for heavier or valuable artwork. They leave a hole, yet a properly selected fastening method gives the frame a steadier connection. Ask the landlord about approved mounting methods before drilling, particularly in plaster or older walls.
Picture rails give renters and frequent redecorators more control over placement. The rail stays installed while cords and hooks let you raise, lower, or rearrange frames without creating another set of holes. That flexibility helps with awkward sightlines, such as artwork that needs to sit slightly higher than a sofa or lower beside a doorway. The rail must be secured correctly, and its cords and hooks must suit the frames they carry.
A rail also keeps several changing pieces visually organized. Use it for a relaxed grouping, seasonal artwork, or a room where furniture may move. Keep the cords vertical and adjust them one at a time, checking the frame from the main viewing position before tightening anything.
For a renter, use a rail or removable hanger for lighter pieces, and get approval for heavier artwork before mounting it. In a permanent home, a stud, cleat, or engineered anchor is the sensible choice for substantial or valuable frames. The right system protects the wall, but careful height and sightline checks keep the finished arrangement looking intentional.
Gallery Walls, Groupings, and Layouts That Work
Gallery walls often fail before the first nail goes in, usually because the layout looked acceptable on the floor but ignored the room's furniture once moved to the wall. A sofa, headboard, doorway, or window can change the arrangement's balance completely.
Start by placing every frame on the floor. Build one composition, then cut paper templates for each piece and tape them to the wall. This reveals awkward gaps, weak corners, and a group that sits too high before you make a hole. Use this guide to create a balanced accent wall when the arrangement needs to relate to the room as a whole.
A salon-style wall suits mixed sizes and relaxed spacing, but its outer shape still needs balance. Choose a grid layout for matching frames and repeated sightlines. A stair-step arrangement follows a staircase naturally or softens a living room wall where a rigid grid would fight the architecture.
Keep frames close enough to read as one group. Leave 2 to 3 inches between pieces, following gallery-wall placement guidance for a consistent rhythm. Aligning the centers of three matching frames above a headboard creates a calm band. A wide piece above a console can anchor smaller frames placed beside it.
Let the furniture below establish the gallery's base. Center the complete arrangement over the sofa or console, not over the bare wall. Check it from the doorway and the main seat. A layout can look level up close yet appear to lean from the room's real sightline. Adjust the outer edges before mounting the frames permanently.
Common Mistakes and How to Fix Them
A frame can be level and still look wrong. The usual cause is a mismatch between the artwork, the furniture, and the room's sightline. Find the specific mistake before drilling another hole.
Letting the wall dictate the center
A sofa may sit away from the wall's mathematical midpoint because of a doorway, lamp, or the room's layout. Centering artwork on bare wall space can leave the seating area feeling disconnected.
Center a single frame or gallery group over the furniture it belongs to. The sofa, console, or bed is the visual anchor. Check the result from the doorway and from the main seat, because the correct center is the one that works from the room's real viewing positions.
Hanging a heavy frame from one point
A large canvas may appear easy to mount from one nail when its wire is already attached. One point concentrates the load and can let the frame swing, twist, or settle crooked when someone brushes past it.
Use two hanging points for medium and heavy pieces when the frame allows it. Select hardware for the wall type and the measured load. The weight-based approach is covered in drywall anchor guidance, so begin with the complete frame's weight instead of guessing from its size.
Passing up a stud
An anchor may be installed correctly and still be the wrong choice if a stud sits at the desired location. A heavy frame gains a more direct structural connection when the layout can use one.
Locate the stud before choosing hardware. If it misses your preferred placement, use an engineered anchor suited to the wall surface. Do not force a basic nail into empty drywall and hope the frame stays secure.
Measuring a loose wire
A slack wire changes where the frame rests. A mark measured with the wire hanging loosely can place the mounted picture lower than expected or make it tilt after the wire takes the load.
Pull the wire upward to the position it will hold on the hook, then measure from that point. Frames with two D-rings are simpler: measure the ring positions directly and mark both points from the same level line.
Checking level only before mounting
The first mark can be accurate while the second sits slightly high. The error often appears only after the frame rests on both fasteners.
After the first attachment, set the frame in place and check its level. Mark the second point from the actual hardware, mount it, and check again. A physical level gives the fastest confirmation, especially for wide frames and pairs.
Using removable hangers on unsuitable surfaces
Removable hangers work only when the product and wall surface match. Dust, texture, weak paint, or an unsuitable finish can reduce the connection, and waiting until a strip starts peeling risks the artwork.
Clean and prepare the surface according to the product instructions. Follow its stated capacity, avoid mounting valuable pieces on questionable surfaces, and replace damaged or aging strips before use.
A short maintenance check prevents small problems from becoming wall damage:
- Check anchors annually: Look for movement, looseness, or cracking around each mounting point.
- Keep touch-up paint nearby: A paint pen makes small nail-hole repairs quick.
- Review changing rooms: A new sofa, bed, or console can change the artwork's correct height.
- Recheck the layout after furniture changes: A frame may remain level while no longer feeling connected to the room.
Use the full checklist above before mounting:
- Weigh the complete frame.
- Match the hardware to the wall and the measured load.
- Measure from the frame's own hanger.
- Choose height by room, furniture, and sightline.
- Preview the layout before drilling.
- Use two points when the piece needs better load distribution.
Picture placement is a small detail with a noticeable effect on how finished a room feels. A new La-Z-Boy sofa, Ashley dining set, or Bassett furniture can change the wall arrangement behind it. Guynn Furniture & Mattress has served Galax, Independence, Hillsville, and the wider Southwestern Virginia and Northern North Carolina region since 1902. Its design staff, including Debra Williams, can answer room-planning questions. The showroom carries La-Z-Boy as a Showcase dealer, Ashley, Bassett, Sealy, and Therapedic, plus an in-stock selection for immediate delivery and free in-home delivery and setup within 60 miles.
Guynn Furniture & Mattress can help coordinate furniture scale, wall art placement, and room comfort in a no-pressure setting. Visit Guynn Furniture & Mattress in Galax, Independence, or Hillsville to test the comfort, schedule a consultation with the design team, and browse the selection online at guynnfurniture.net.